Steps to set one how to schedule your SMS Campaign
Understanding campaign scheduling
To deliver your SMS campaign based on a fixed schedule you simple select the date and time you want the campaign to begin.
Before you can schedule a campaign in CXT,
Guide to scheduling your campaign
You’ll need to create one first. You can schedule a campaign from the ‘Quick Send’ tab of the ‘Campaign Builder’ tab. For guidance, see How to create a campaign in CXT.
1. Go to the left side panel of the CXT menu and click the ‘Quick Send’ section.
2. Then in the ‘From’ field, enter the dedicated registered number assigned to your account.
3. Then in the ‘To’ field, enter from the selected drop down menu of contact list templates previously created and used.
4. The select if you will send and SMS or an MMS.
5. Then selected your message template from the drop down list.
6. Then select if you will only use the Phone attribute or will include First name and or Last name.
7. Then click ‘Schedule Campaign’. This will open up the scheduling fields.
8. Then fill in the ‘Date’, ‘Time’ and ‘Time Zone’ you wish to schedule.
9. Then when done, just click ‘Send’
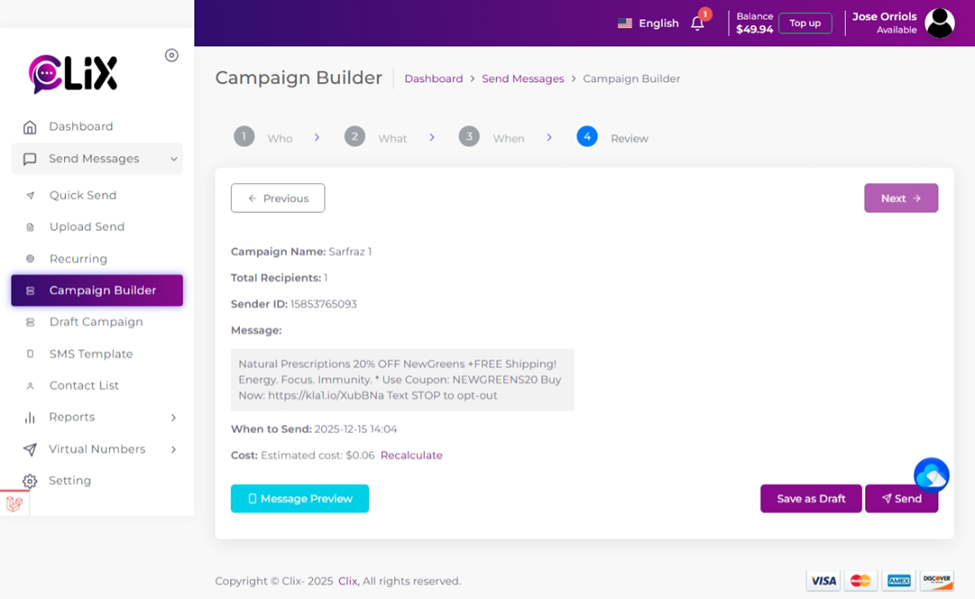
If you schedule your campaign in the ‘Campaign Builder’ section, you need to first go to the ‘Who’ section and fill out the required information. Once you’ve selected your recipients and crafted your campaign content, you’ll proceed to the ‘When’ stage.
1. Go to the left side panel in the CXT and click ‘Campaign Builder’.
2. Then go to ‘Campaign Name’ and fill out the field.
3. Then fill out the ‘From’ and ‘To’ field and then click the ‘Next’ button.
4. This will take you to the ‘When’ section. Then fill out the ‘SMS Template’, the ‘Merge’ field and the ‘Message’ field. Then click the ‘Next’ button.
5. Then in the ‘When’ section fill out the ‘Date’, ‘Time’ and ‘Time zone’ and click the ‘Next’ button.
6. Once you click the ‘Next’ button, it will guide you to the ‘Review’ section.